Microsoft Foundry上でテキスト PII マスキングサービスを利用してみた
Microsoft Foundryには様々なサービスが用意されていて、その1つにテキスト PII マスキングサービスがある。
PII(Personally Identifiable Information)とは、氏名、住所、生年月日、電話番号、メールアドレスなど、単独あるいは複数の情報を組み合わせることで特定の個人を識別できる情報(個人識別情報)のことで、テキスト PII マスキングサービスを利用すると、指定した文章から個人識別情報をマスク(隠蔽)した結果を取得することができる。
今回は、Microsoft Foundryのテキスト PII マスキングサービスを呼び出してみたので、その手順を共有する。
前提条件
下記記事の「Microsoft Foundryへのログインとプロジェクト作成」が完了していること。

やってみたこと
テキスト PII マスキングサービスの実行
Microsoft Foundry上のテキスト PII マスキングサービスは、デプロイしなくても、画面から実行できる。その手順は、以下の通り。
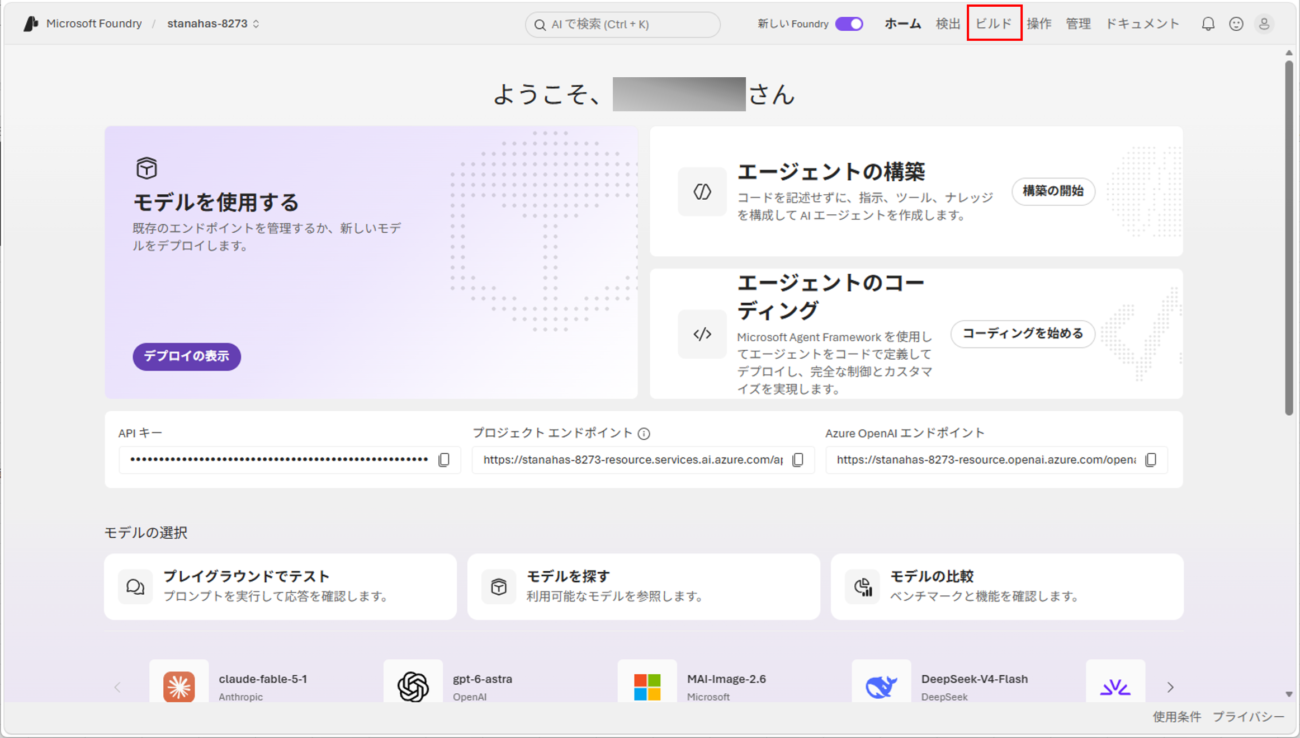
1) Microsoft Foundryにログインし、「ビルド」メニューを押下する。
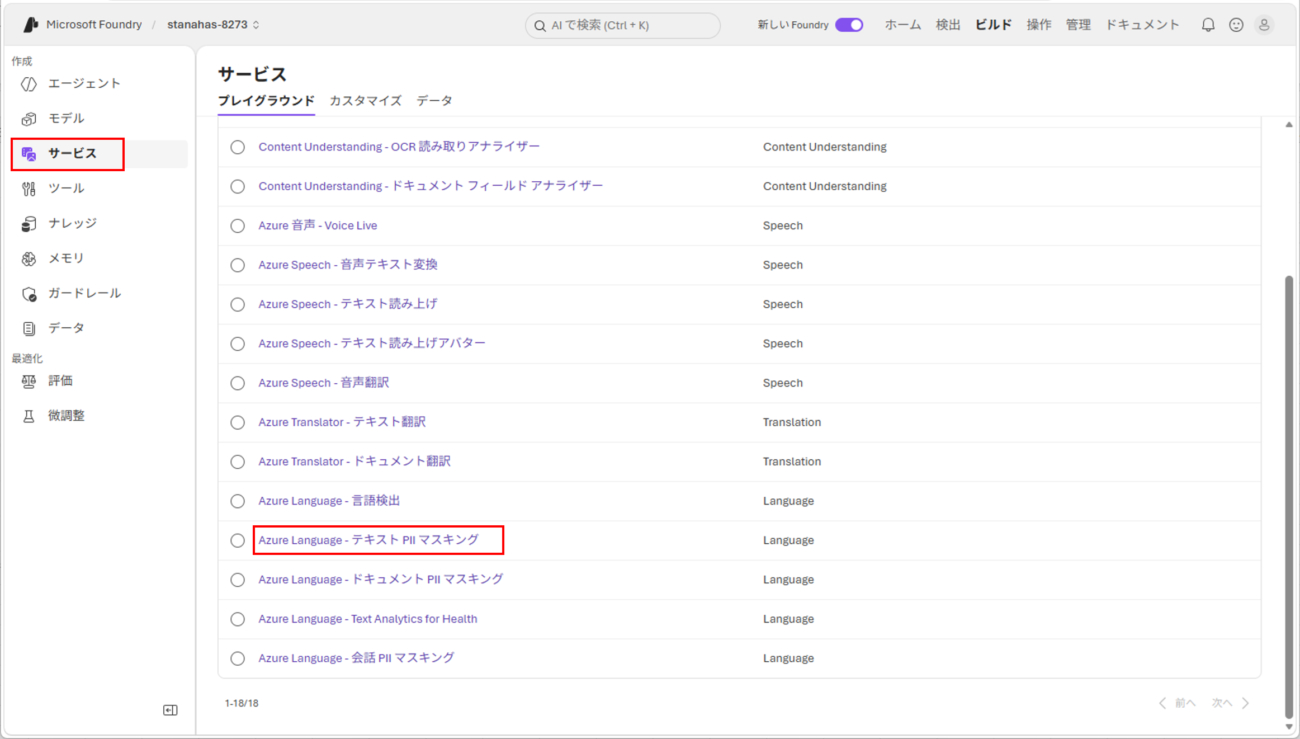
2)「サービス」メニューを押下後、「Azure Language – テキスト PII マスキング」メニューを押下する。
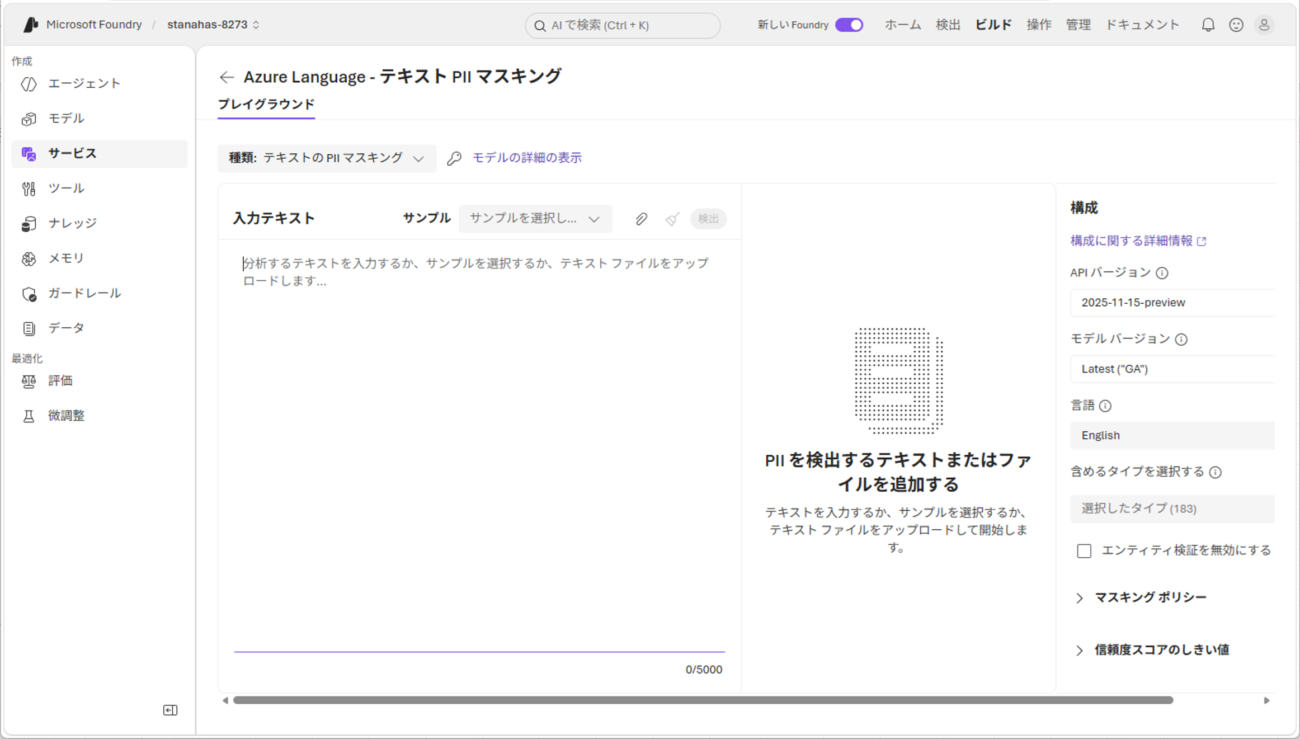
3) 以下のように、選択したメニューの画面が表示されることが確認できる。
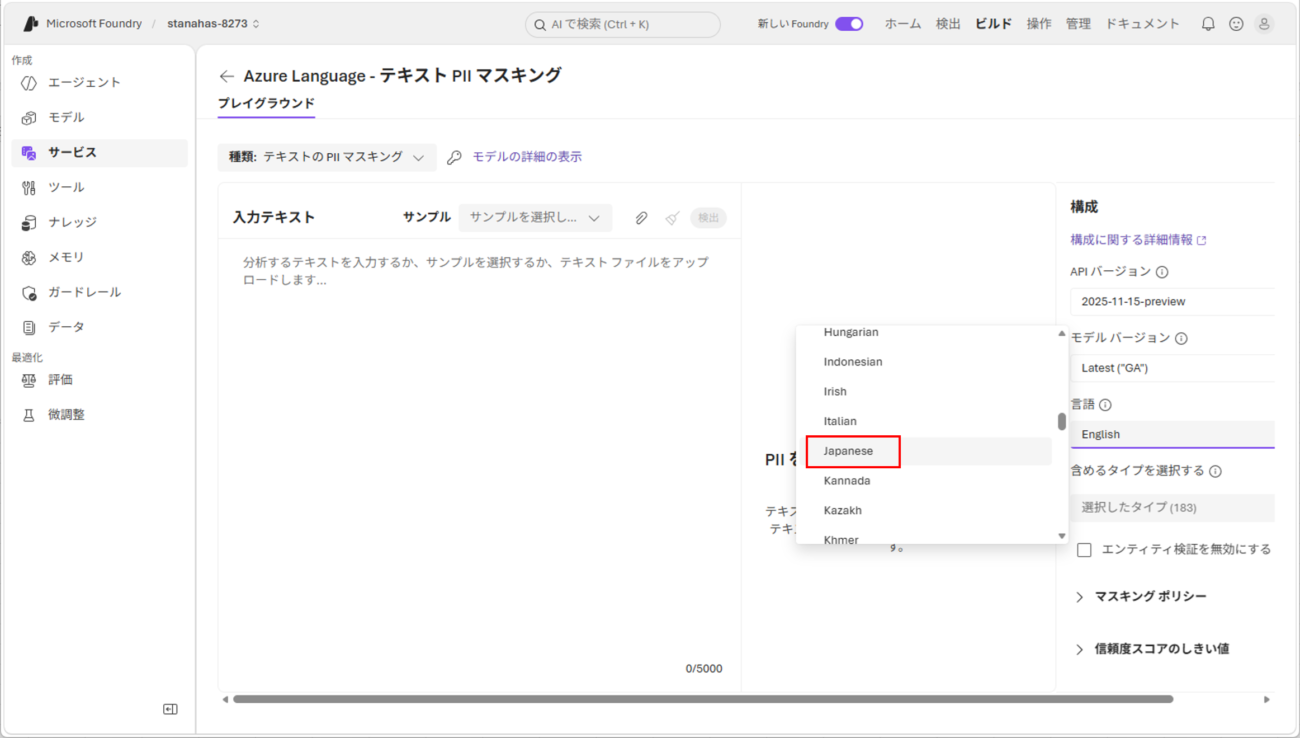
4) 言語設定が「English」になっているため、「Japanese」を選択する。
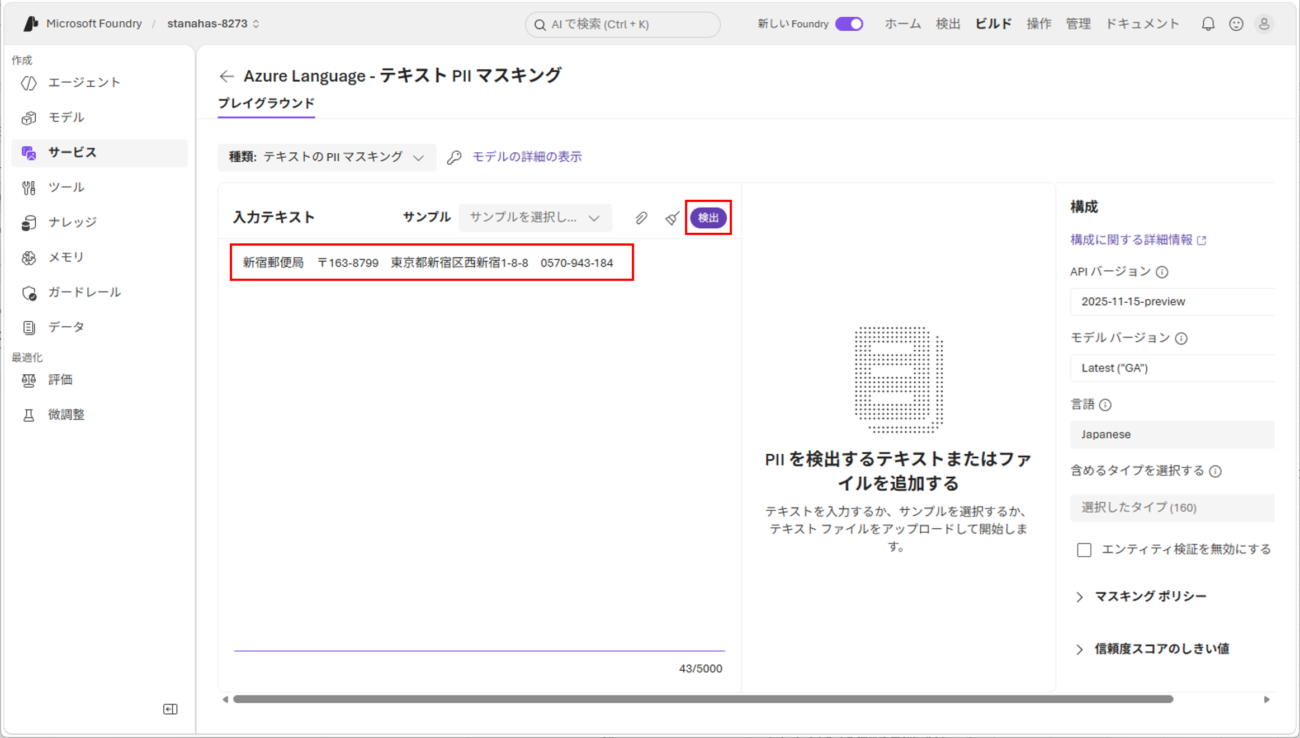
5) 入力テキストに個人情報を含む文言を指定後、「検出」ボタンを押下する。
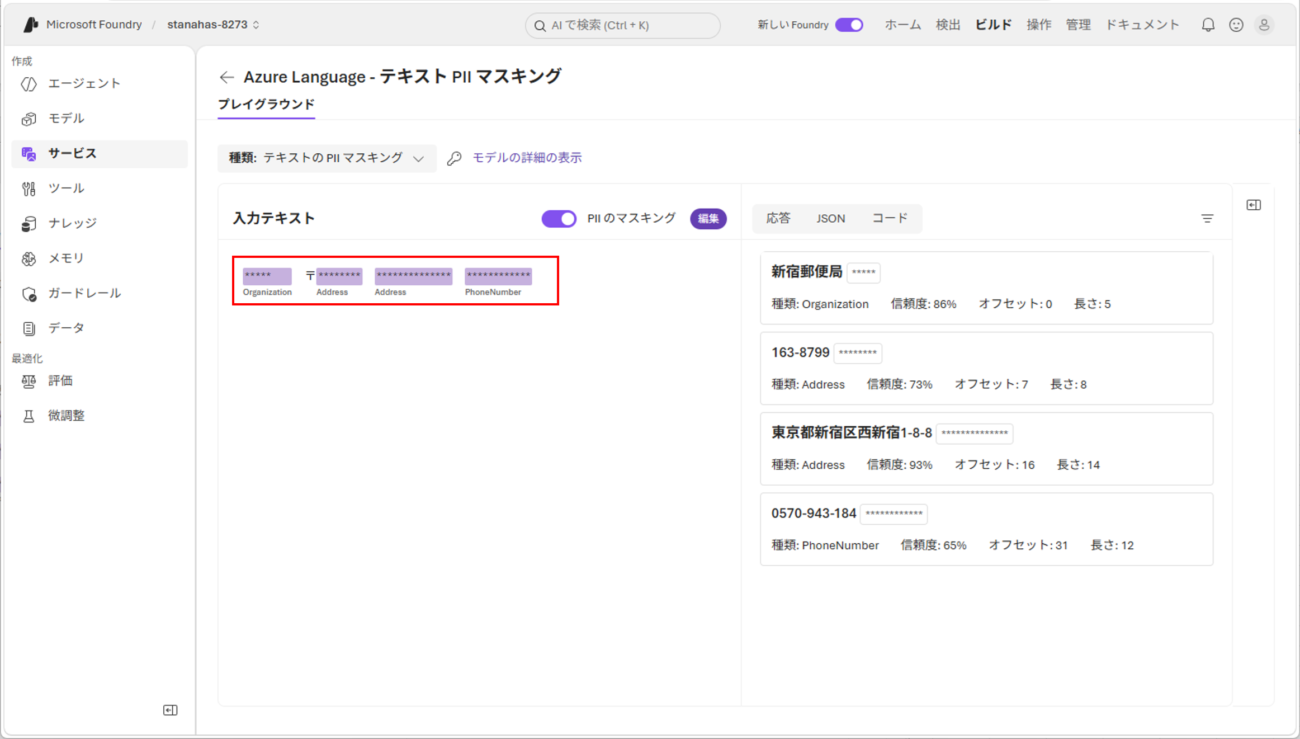
6) 以下のように、入力テキストの個人情報がマスクして表示されることが確認できる。

テキスト PII マスキングサービスの呼び出し
テキスト PII マスキングサービスは、APIキーを指定して、APIで呼び出すことができる。その手順は、以下の通り。
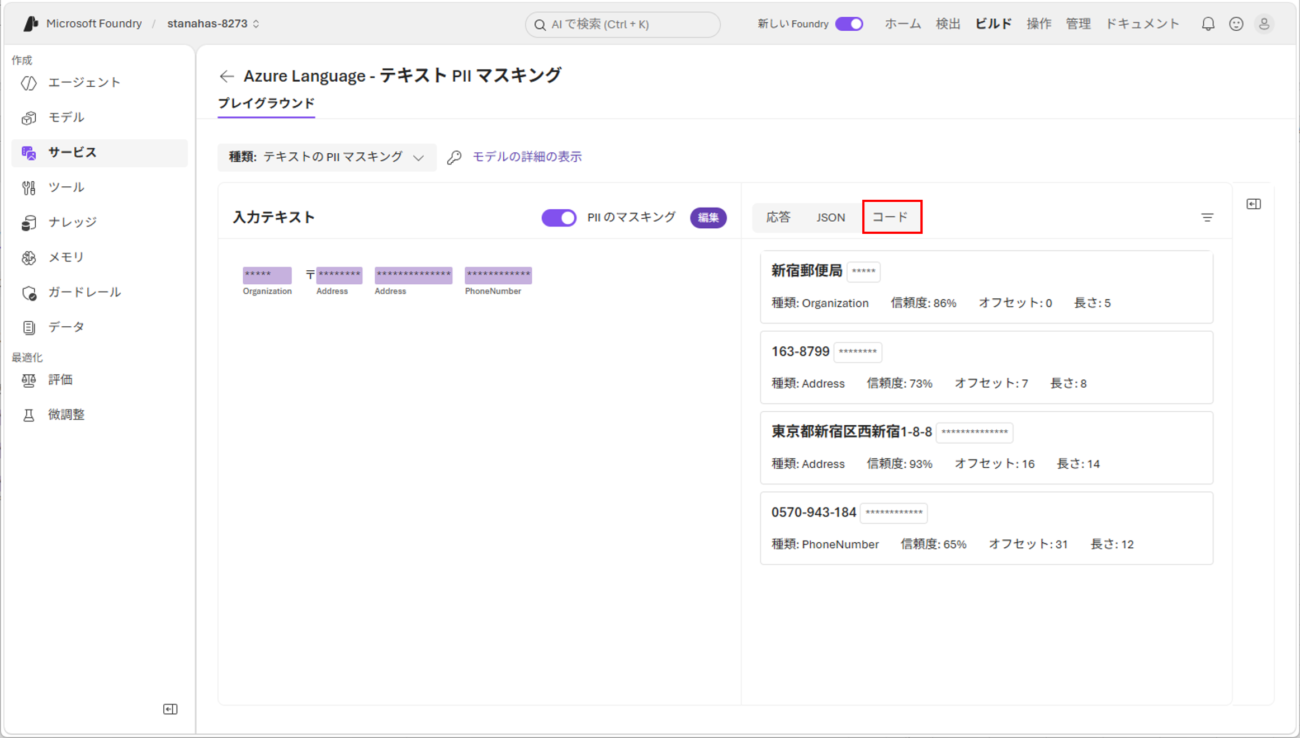
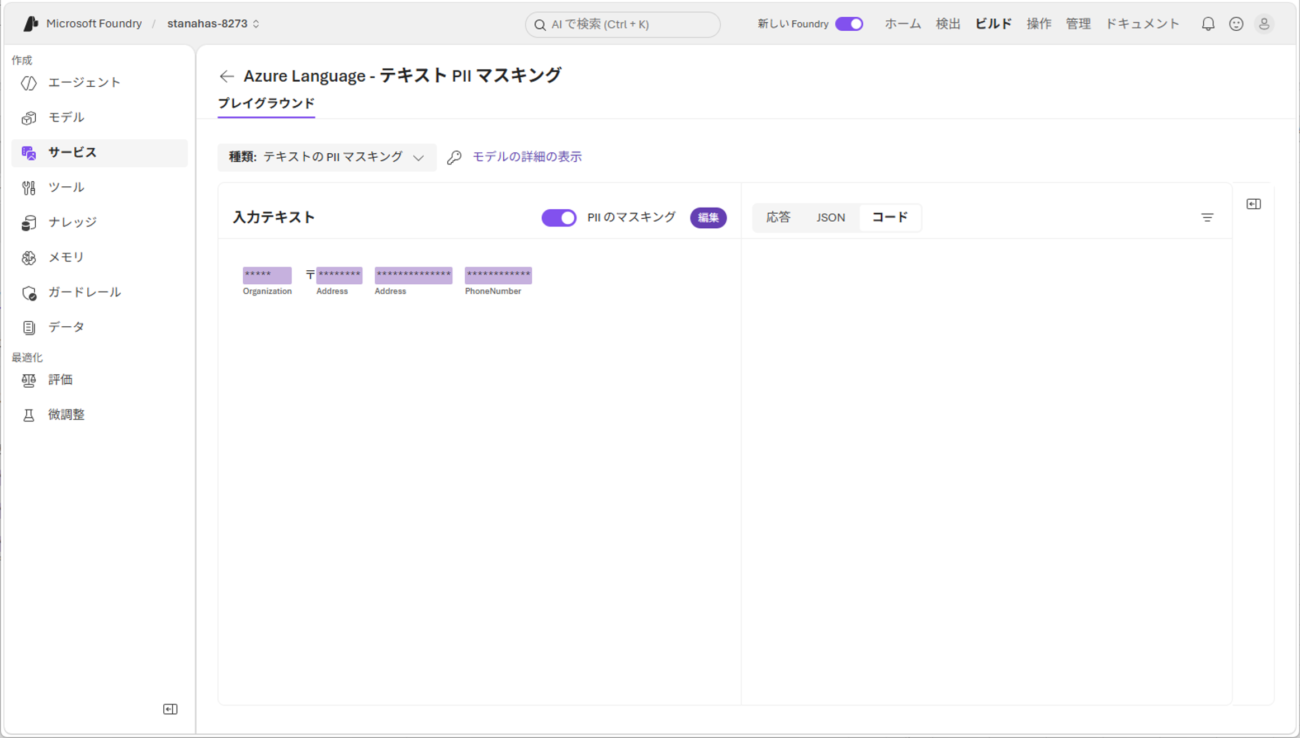
1) テキスト PII マスキングサービスを画面上で実行後、「コード」メニューを押下すると、この段階では内容が表示されないことが確認できる。
2) ユーザー設定言語を「日本語」から「English」に変更する。
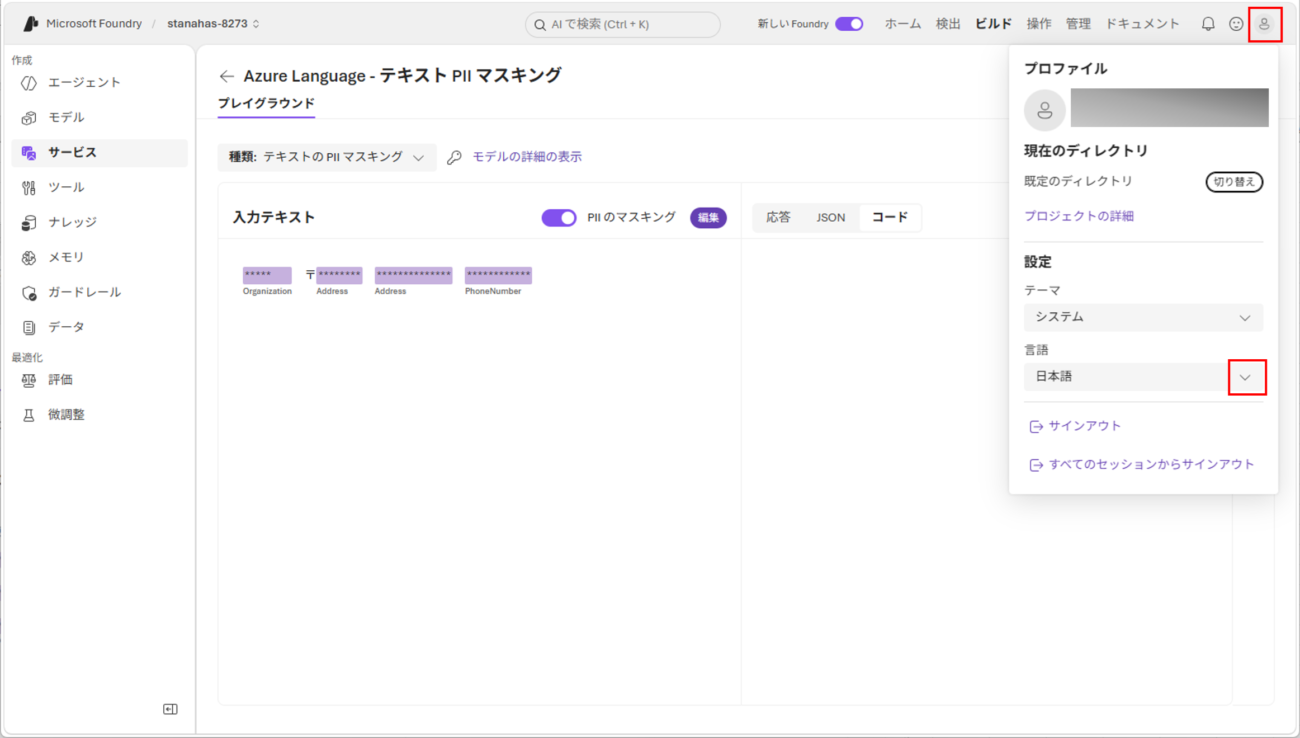
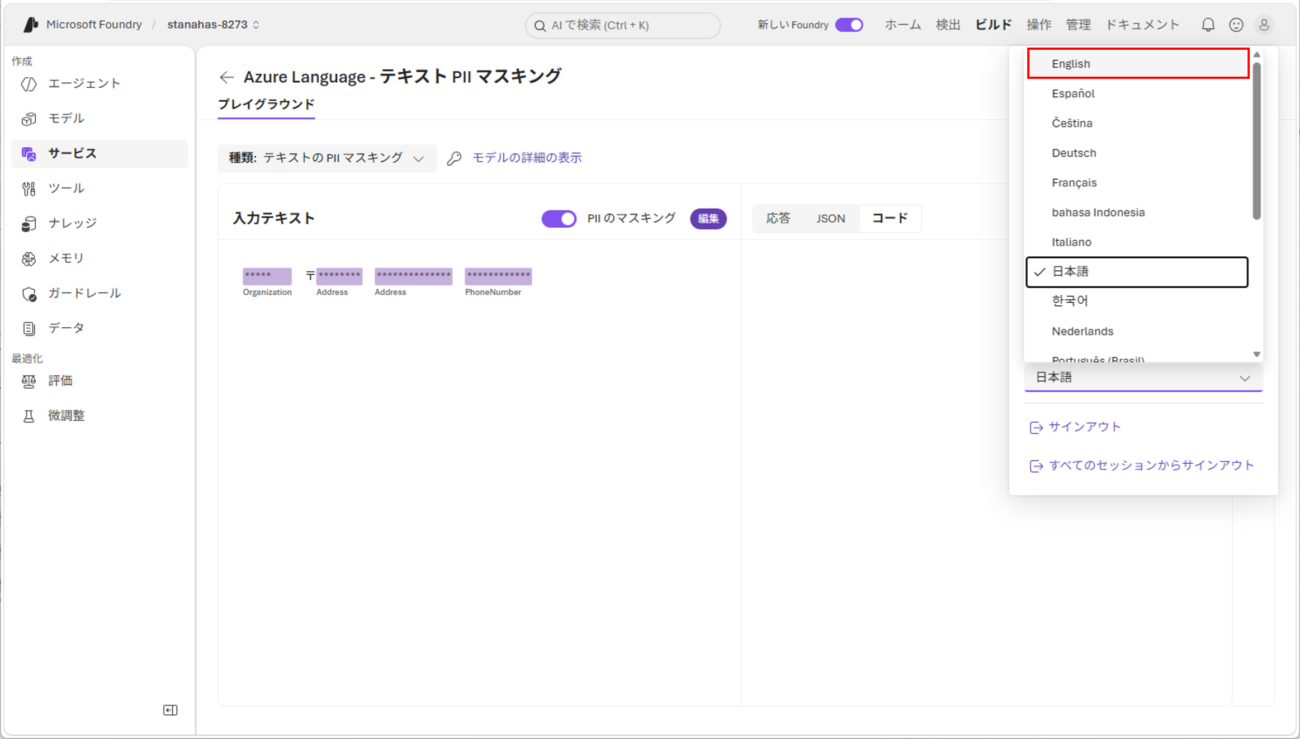
3) ユーザー設定言語を変更したら、「適用」ボタンを押下する。
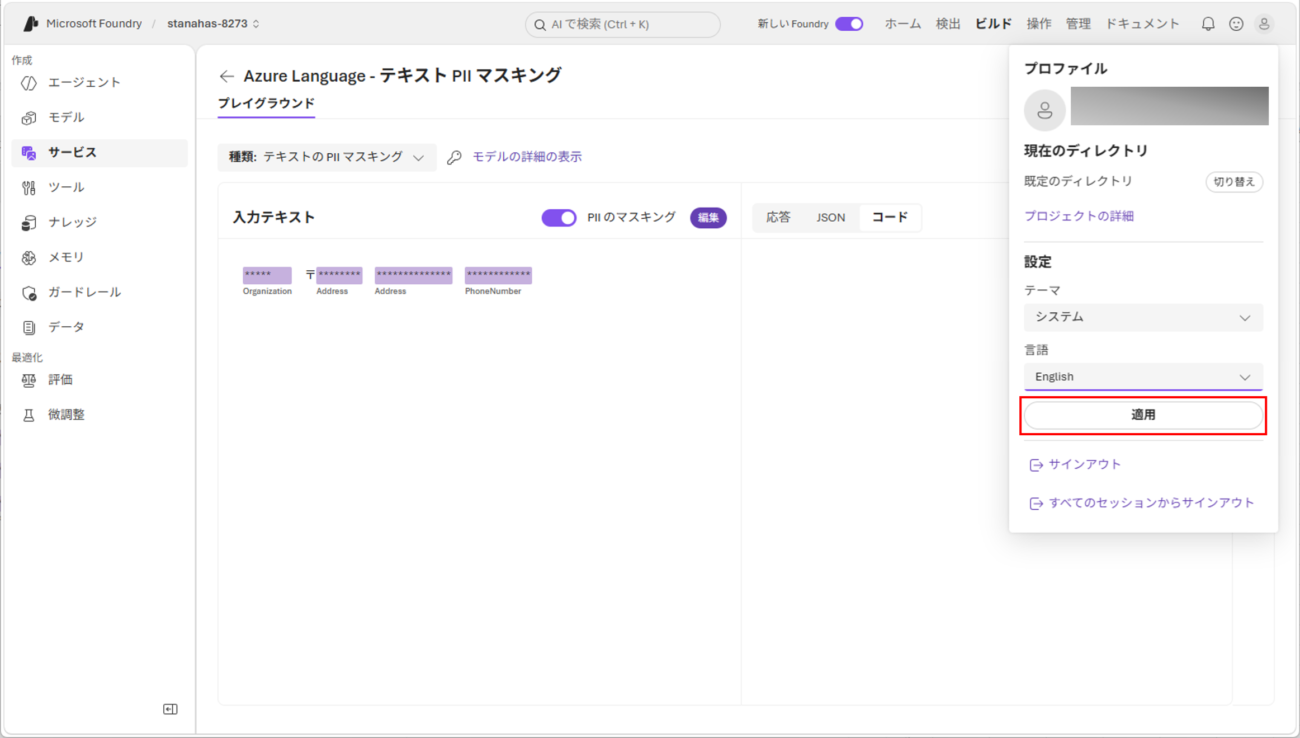
4) 以下のように、「Code」が表示されることが確認できる。
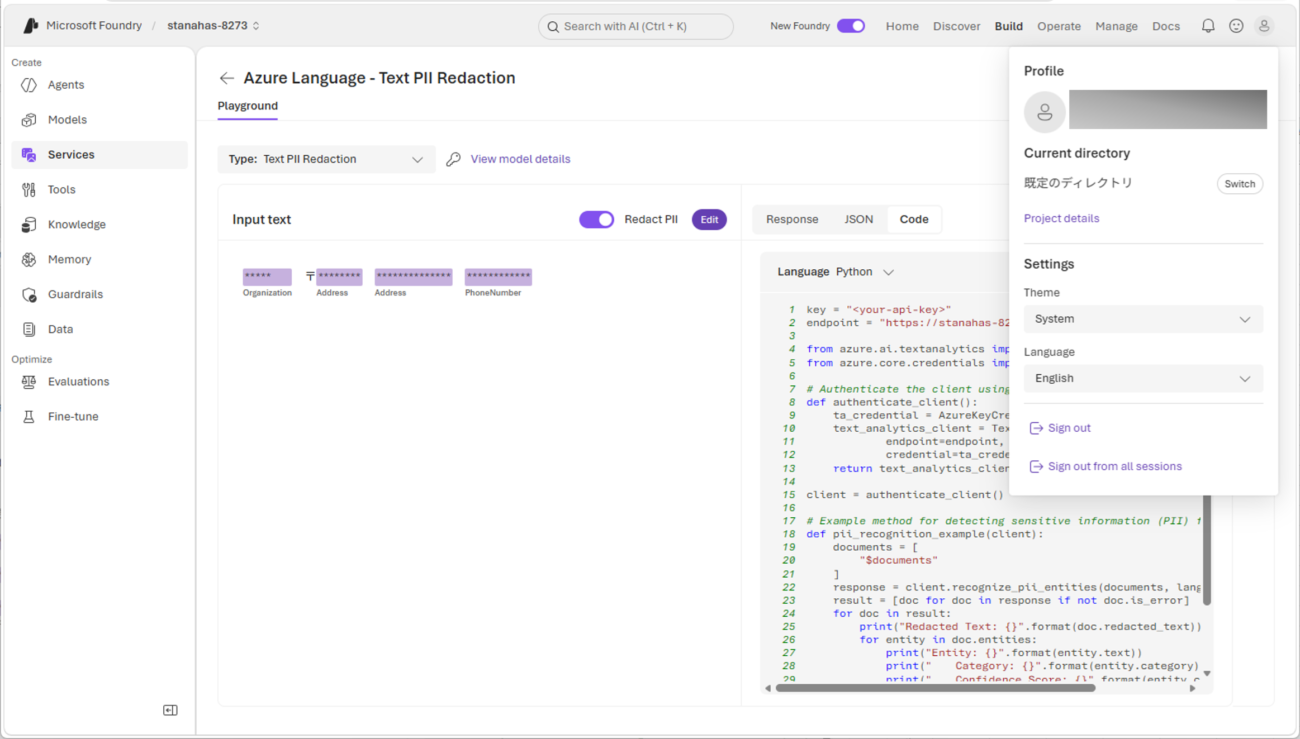
5) 表示されたソースコードをコピーする。
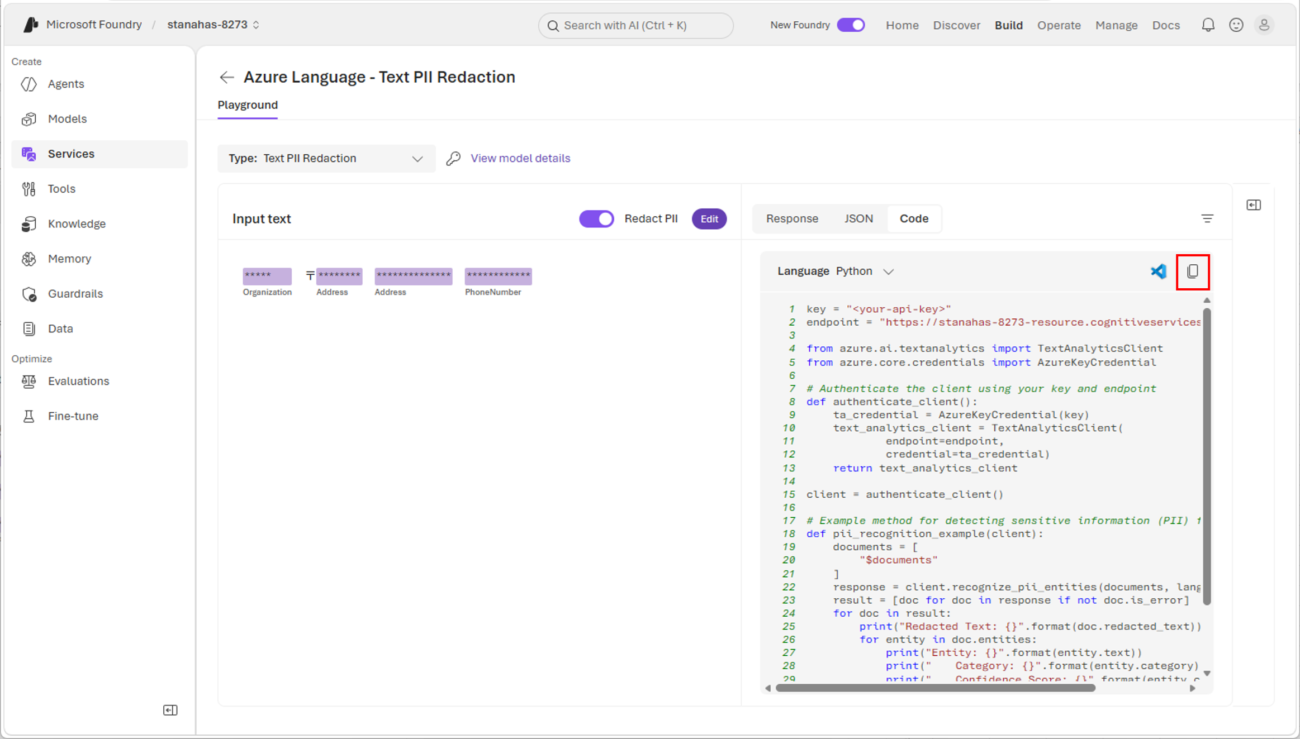
6) 5)でコピーしたソースコードは、以下の通り。
key = "<your-api-key>"
endpoint = "https://stanahas-8273-resource.cognitiveservices.azure.com/"

from azure.ai.textanalytics import TextAnalyticsClient
from azure.core.credentials import AzureKeyCredential

# Authenticate the client using your key and endpoint
def authenticate_client():
    ta_credential = AzureKeyCredential(key)
    text_analytics_client = TextAnalyticsClient(
            endpoint=endpoint,
            credential=ta_credential)
    return text_analytics_client

client = authenticate_client()

# Example method for detecting sensitive information (PII) from text
def pii_recognition_example(client):
    documents = [
        "$documents"
    ]
    response = client.recognize_pii_entities(documents, language="en")
    result = [doc for doc in response if not doc.is_error]
    for doc in result:
        print("Redacted Text: {}".format(doc.redacted_text))
        for entity in doc.entities:
            print("Entity: {}".format(entity.text))
            print(" Category: {}".format(entity.category))
            print(" Confidence Score: {}".format(entity.confidence_score))
            print(" Offset: {}".format(entity.offset))
            print(" Length: {}".format(entity.length))
pii_recognition_example(client)
7) 6)の内容を、ローカル端末上のソースコード「call_text_pii.py」に貼り付ける。
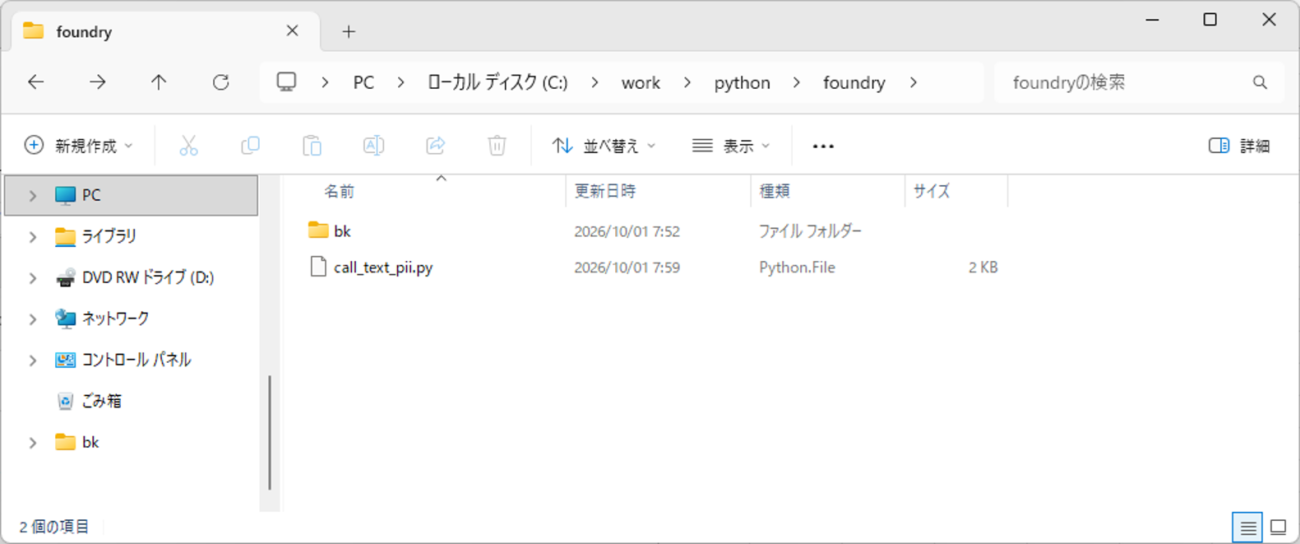
8) 7)で貼り付けたソースコードを以下のように、読み込み文字列と言語設定を変更し、文字コードをUTF-8にした状態で貼り付ける。
key = "<your-api-key>"
endpoint = "https://stanahas-8273-resource.cognitiveservices.azure.com/"

from azure.ai.textanalytics import TextAnalyticsClient
from azure.core.credentials import AzureKeyCredential

# Authenticate the client using your key and endpoint
def authenticate_client():
    ta_credential = AzureKeyCredential(key)
    text_analytics_client = TextAnalyticsClient(
            endpoint=endpoint,
            credential=ta_credential)
    return text_analytics_client

client = authenticate_client()

# Example method for detecting sensitive information (PII) from text
def pii_recognition_example(client):
    documents = [
        "新宿郵便局 〒163-8799 東京都新宿区西新宿1-8-8 0570-943-184"
    ]
    response = client.recognize_pii_entities(documents, language="ja")
    result = [doc for doc in response if not doc.is_error]
    for doc in result:
        print("Redacted Text: {}".format(doc.redacted_text))
        for entity in doc.entities:
            print("Entity: {}".format(entity.text))
            print(" Category: {}".format(entity.category))
            print(" Confidence Score: {}".format(entity.confidence_score))
            print(" Offset: {}".format(entity.offset))
            print(" Length: {}".format(entity.length))
pii_recognition_example(client)
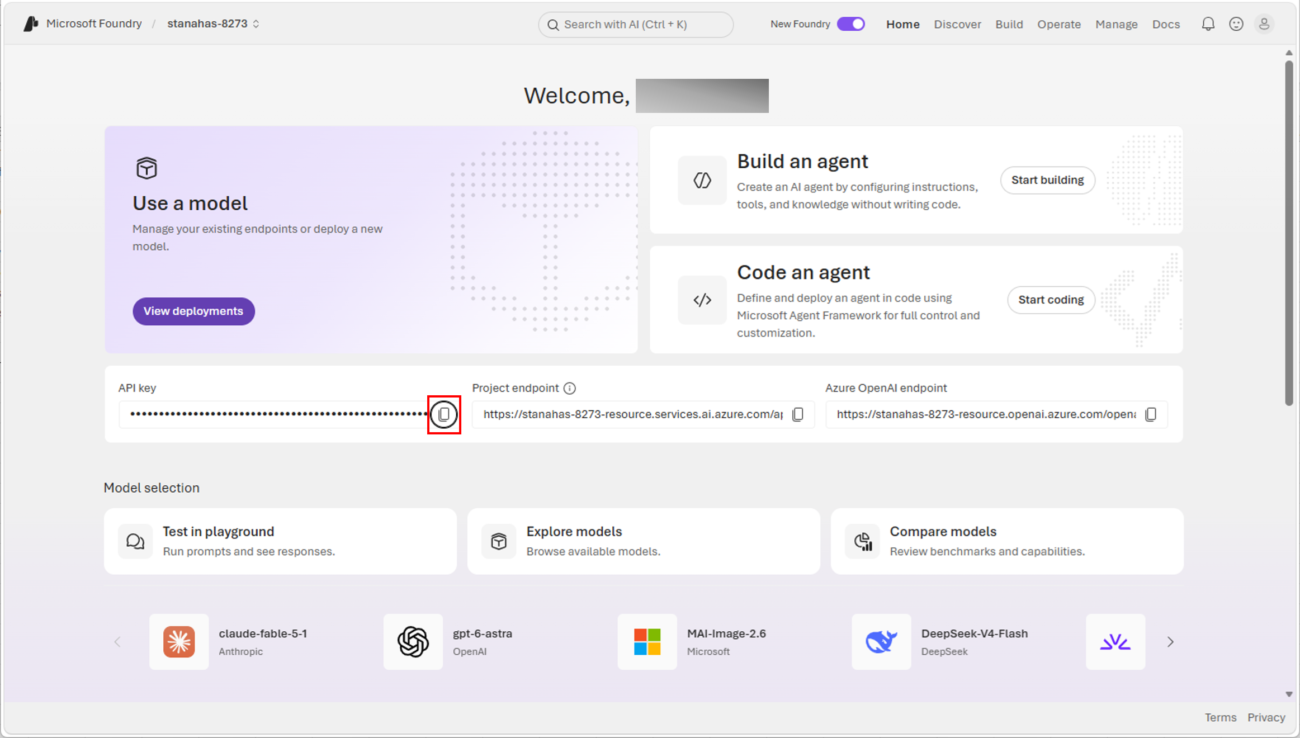
9) APIキーはMicrosoft Foundryのホーム画面からコピーし、先ほどのPythonソースコード「call_text_pii.py」の「<your-api-key>」部分に貼り付ける。
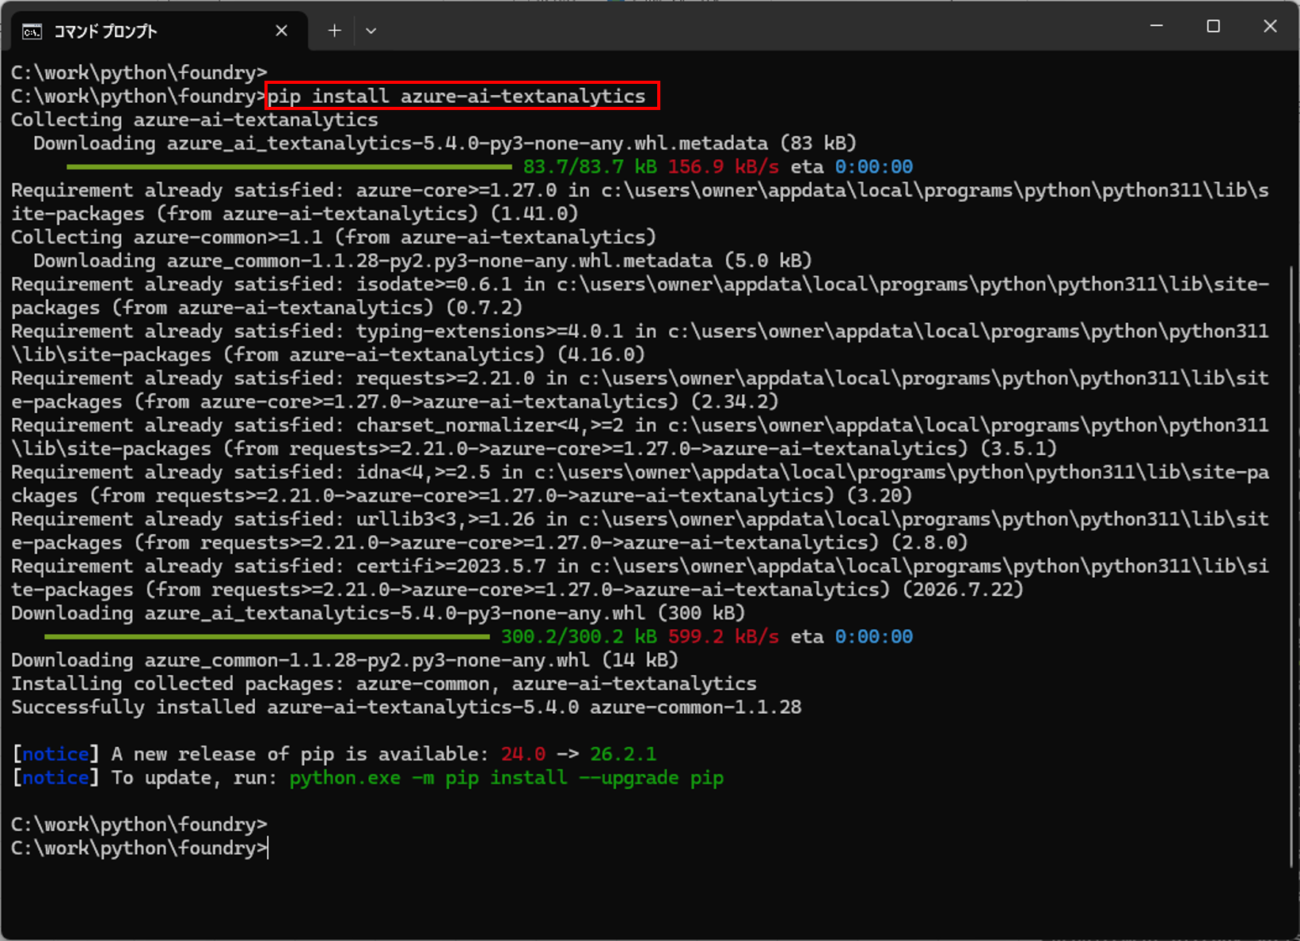
10) 8)のプログラムを実行する際、テキスト分析を行うライブラリが必要なので、「pip install azure-ai-textanalytics」コマンドを実行しインストールする。
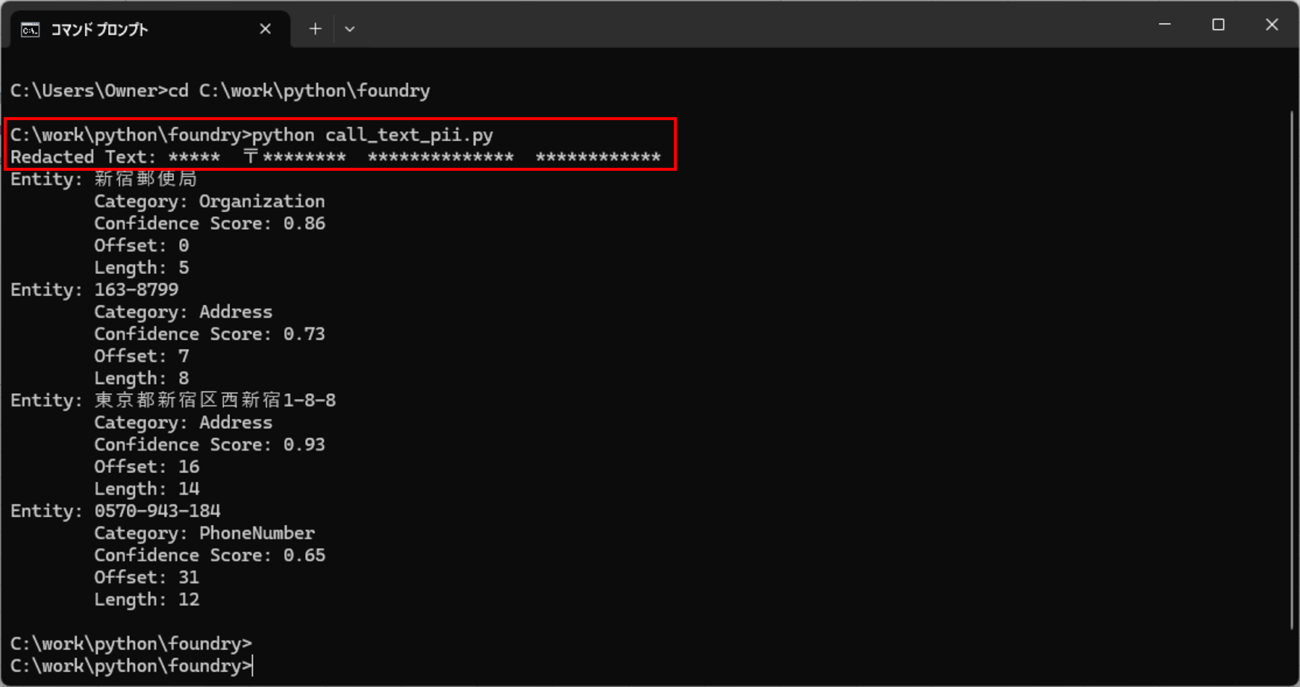
11)「call_text_pii.py」を実行した結果は以下の通りで、documentsに渡したテキストの個人情報をマスクして返却されているのが確認できる。
要点まとめ
- PII(Personally Identifiable Information)とは、氏名、住所、生年月日、電話番号、メールアドレスなど、単独あるいは複数の情報を組み合わせることで特定の個人を識別できる情報(個人識別情報)のことをいう。
- Microsoft Foundryのテキスト PII マスキングサービスを利用すると、指定した文章から個人識別情報をマスク(隠蔽)した結果を取得することができる。