JBoss Seamアプリケーションで初期表示画面を作成してみた
JBoss Seamとは、Java EEベースで、JSF(JavaServer Faces)からEJB(Enterprise Java Bean) 3.0、JPA(Enterprise Java Bean)まで一貫したコンポーネントモデルで「つなぐ」Webアプリケーション開発用フレームワークで、いくつかのアノテーションを使うだけでEJBとJSFをつなぎ合わせることができるようになっている。
今回は、JBoss Seamアプリケーションで初期表示画面を作成してみたので、そのサンプルプログラムを共有する。
前提条件
下記記事のJBoss Seamの環境構築が完了していること。

初期表示画面(input.xhtml)の追加
Seamプロジェクトで画面表示を行うためには、作成したSeamプロジェクトに初期表示画面を追加する。その手順は、以下の通り。
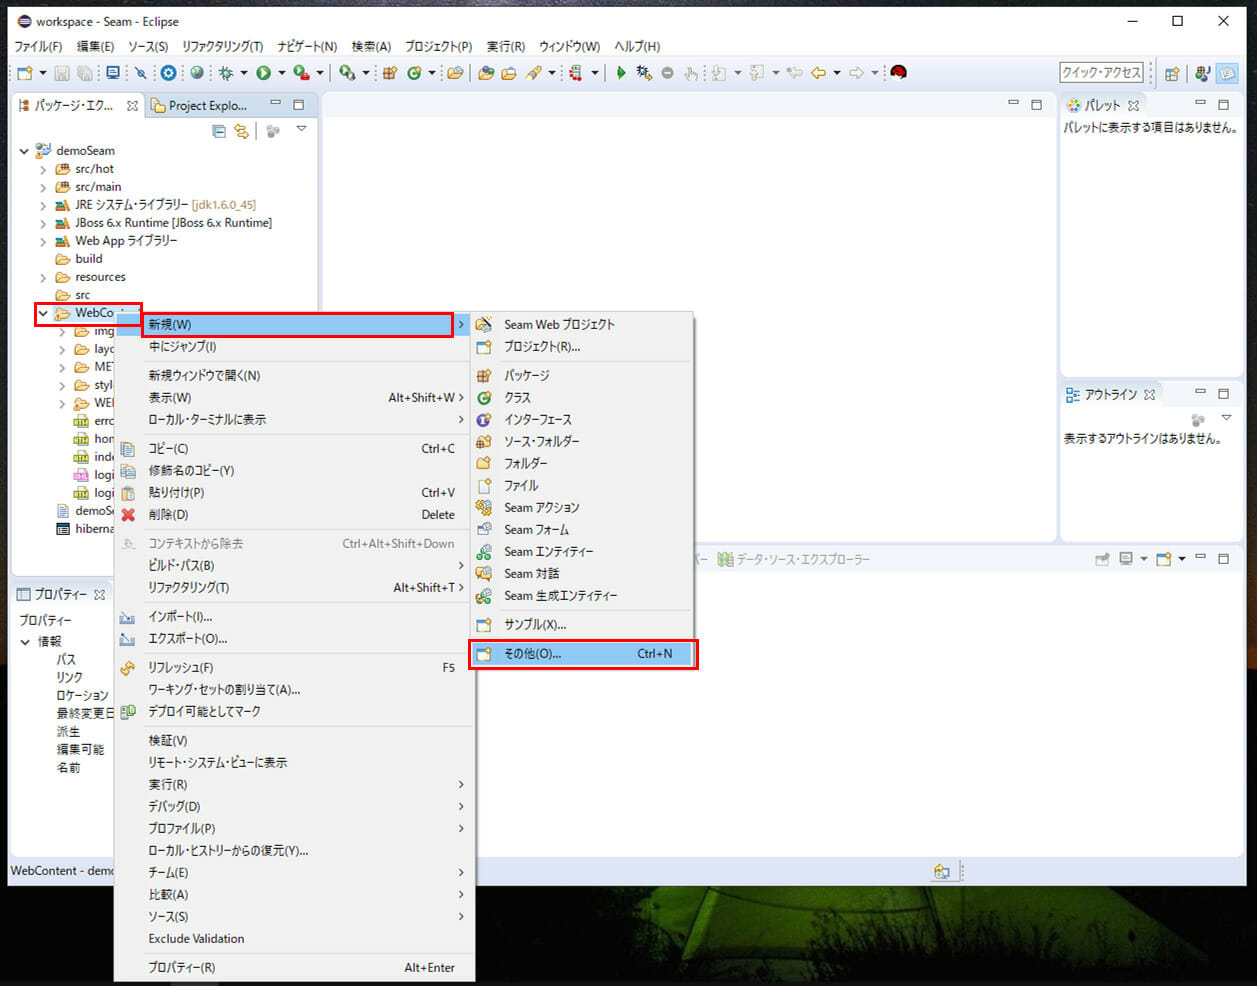
1) WebContentフォルダ下に、初期表示画面(input.xhtml)を作成するため、WebContentフォルダを選択し右クリックし、「新規」メニューから「その他」を選択する。
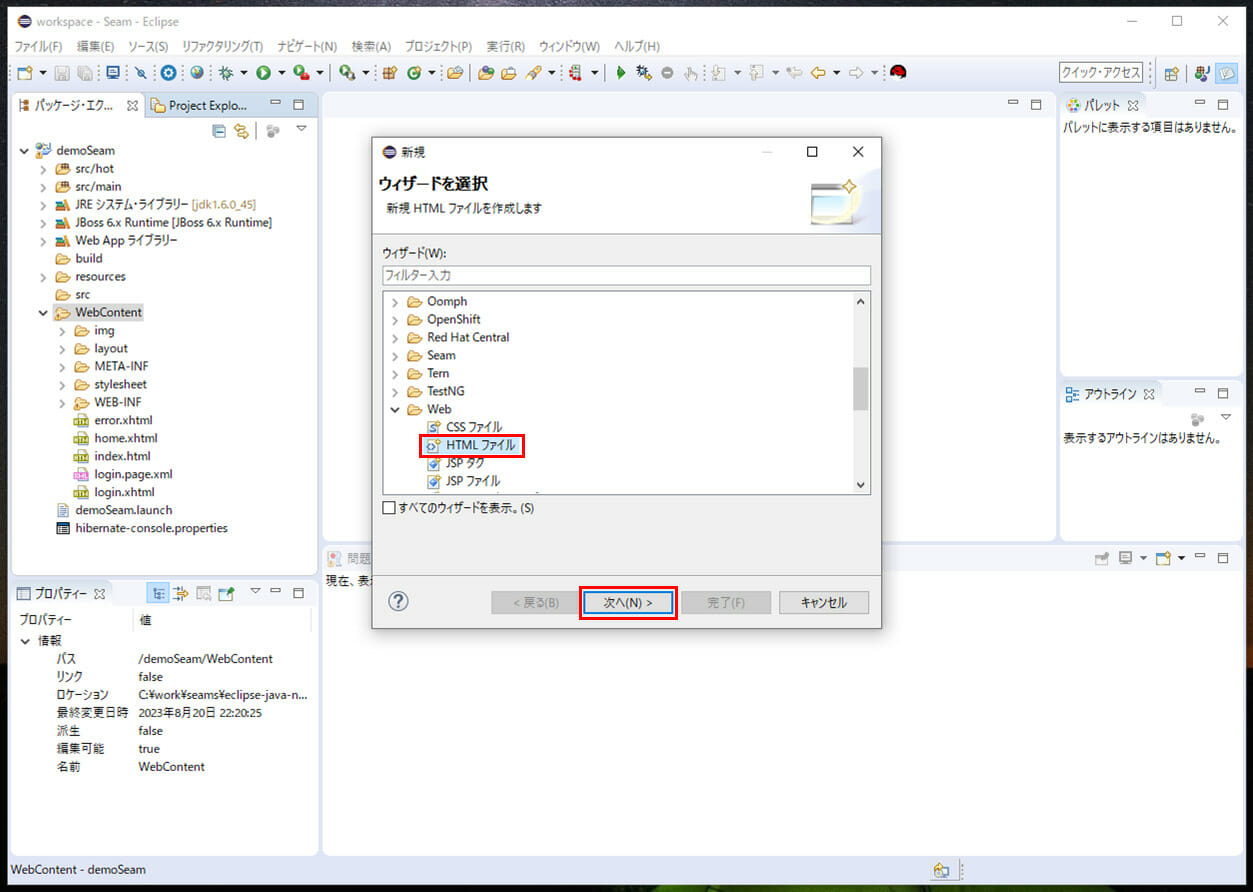
2)「Web」メニューの「HTML ファイル」を選択し、「次へ」ボタンを押下する。
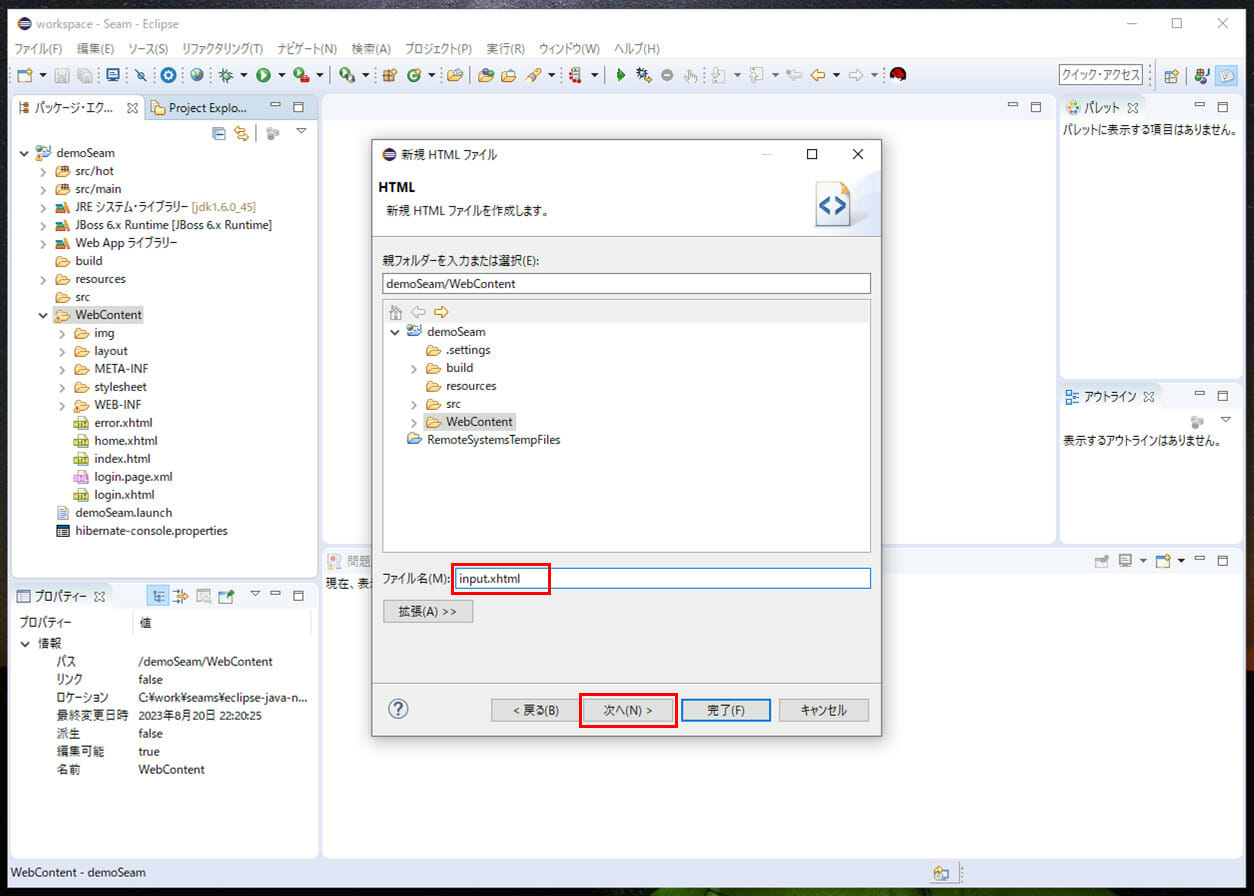
3) ファイル名「input.xhtml」を指定し、「次へ」ボタンを押下する。
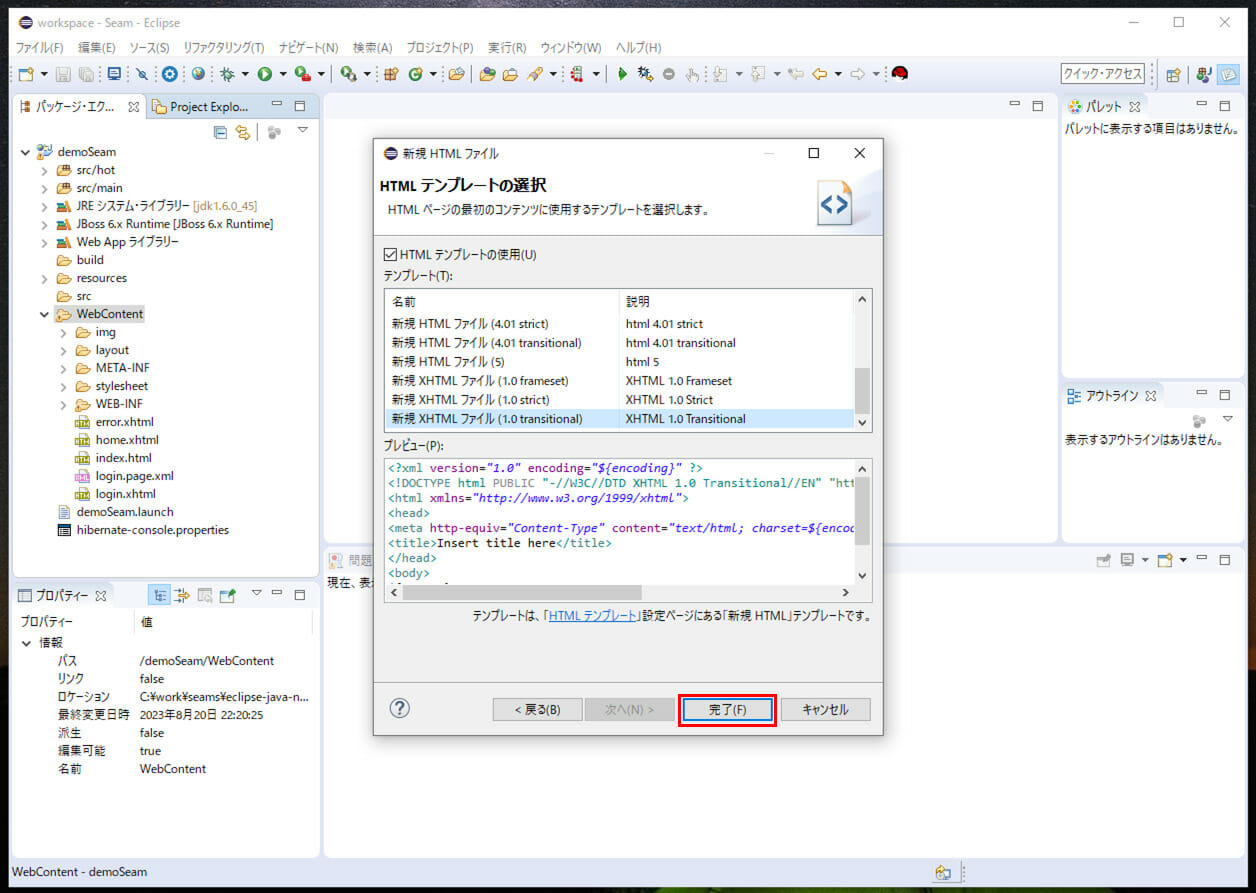
4)「新規 XHTML ファイル(1.0 transitional)」を選択し、「完了」ボタンを押下する。
5) 以下のように、「input.xhtml」が作成されたことが確認できる。
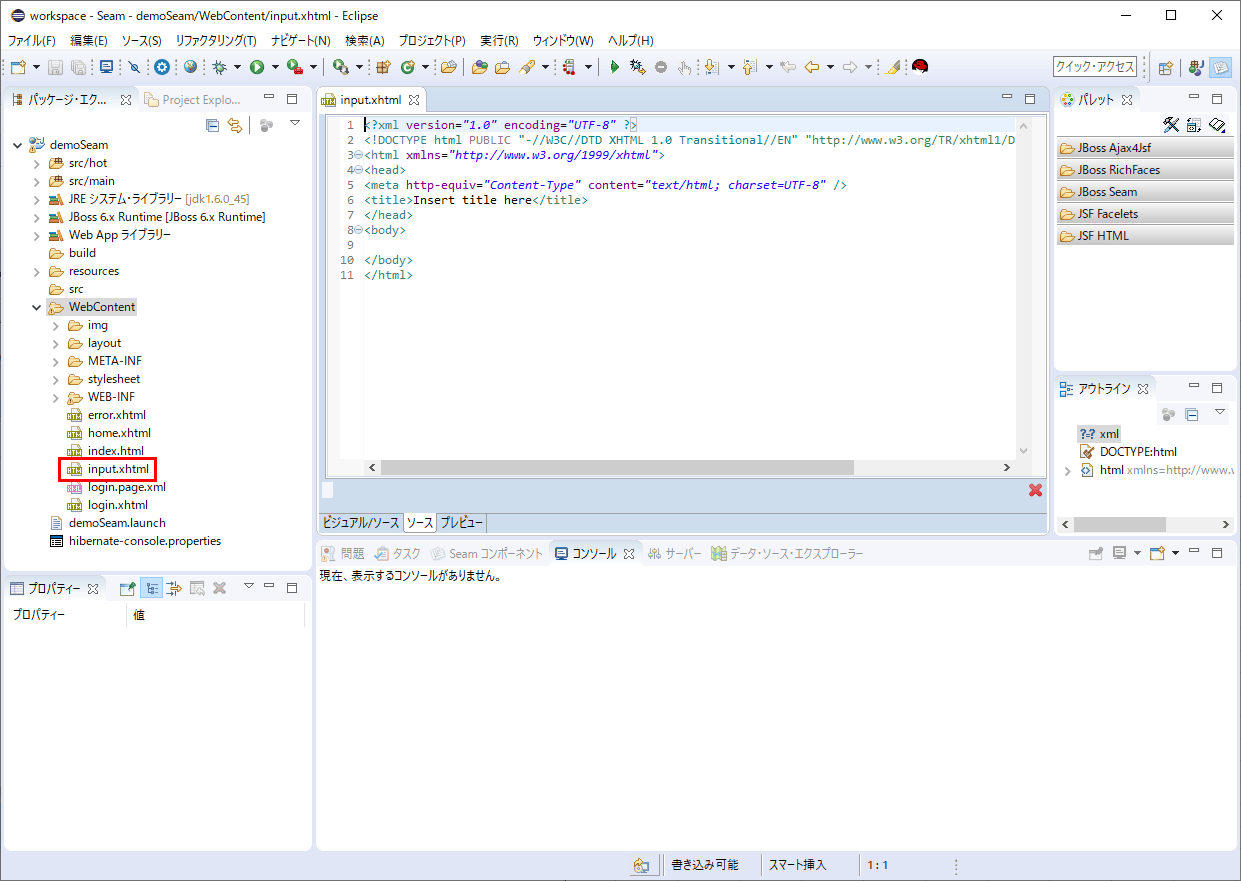
6)「input.xhtml」を以下のように変更し、Faceletsタグ(
<?xml version="1.0" encoding="UTF-8" ?>
<!DOCTYPE html PUBLIC "-//W3C//DTD XHTML 1.0 Transitional//EN" "http://www.w3.org/TR/xhtml1/DTD/xhtml1-transitional.dtd">
<html xmlns="http://www.w3.org/1999/xhtml"
xmlns:h="http://xmlns.jcp.org/jsf/html">
<head>
<meta http-equiv="Content-Type" content="text/html; charset=UTF-8" />
<title>初期表示画面</title>
</head>
<body>
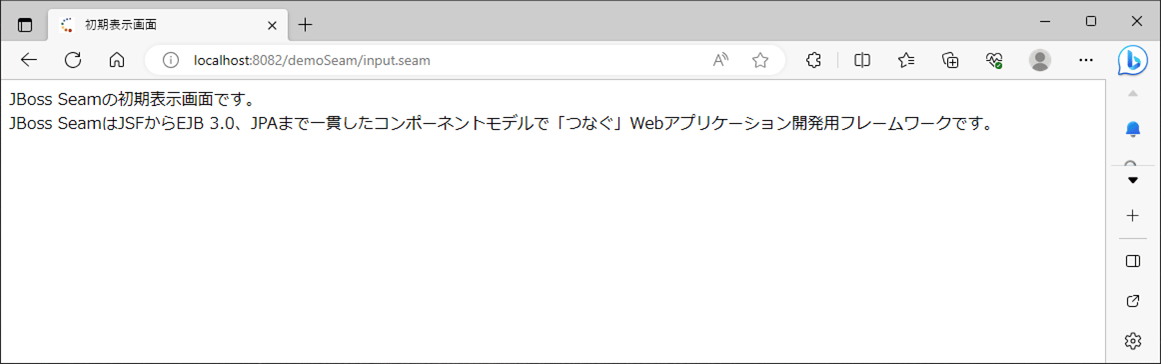
JBoss Seamの初期表示画面です。<br/>
JBoss SeamはJSFからEJB 3.0、JPAまで一貫したコンポーネントモデルで「つなぐ」Webアプリケーション開発用フレームワークです。
</body>
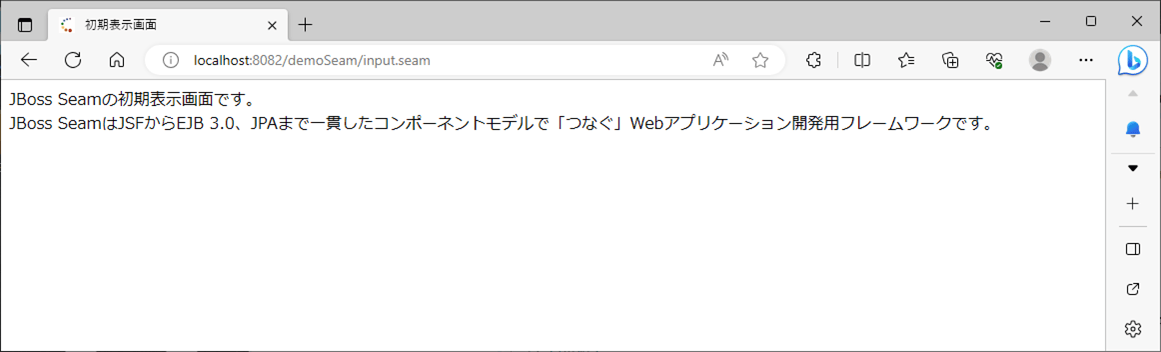
</html>7) JBoss ASサーバーを起動し「http://localhost:8082/demoSeam/input.seam」とアクセスすると、以下の画面が起動することが確認できる。
なお、「8082」は、JBoss ASサーバー内の、WebServerのポート番号を示している。
8)「index.html」を以下のように変更し、「http://localhost:8082/demoSeam/」とアクセスした時の画面遷移先を「input.seam」にする。
<html><head><meta http-equiv="Refresh" content="0; URL=input.seam"/></head></html>
なお、web.xmlのwelcome-file-listの内容は以下のように設定されているため、「http://localhost:8082/demoSeam/」とアクセスした時の画面遷移先は「index.html」となる。
<welcome-file-list>
<welcome-file>index.html</welcome-file>
<welcome-file>index.htm</welcome-file>
<welcome-file>index.jsp</welcome-file>
<welcome-file>default.html</welcome-file>
<welcome-file>default.htm</welcome-file>
<welcome-file>default.jsp</welcome-file>
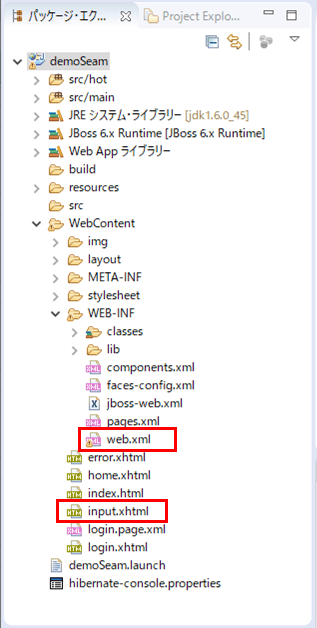
</welcome-file-list>ちなみに、web.xml、index.htmlは、それぞれ以下の赤枠の場所に配置されている。
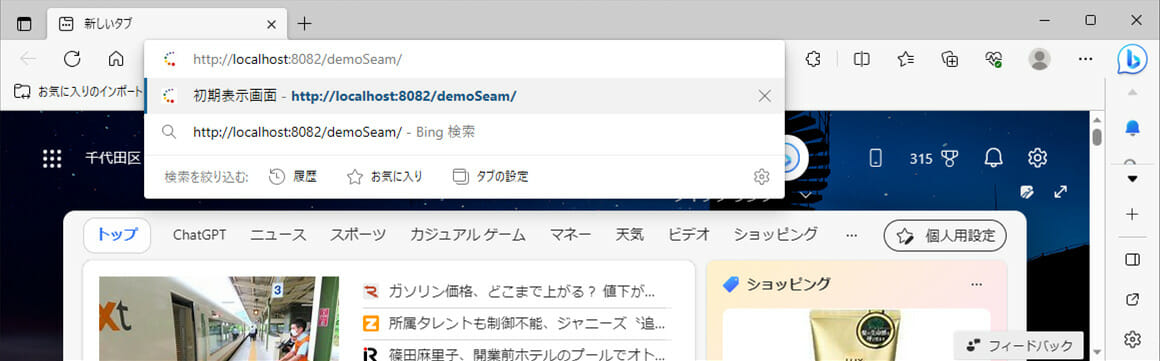
9) JBoss ASサーバーを再起動し「http://localhost:8082/demoSeam/」とアクセスすると、以下の画面が起動することが確認できる。
なお、上記動作検証を行う際は、ブラウザのキャッシュクリアを行っている。その手順は、以下を参照のこと。
https://support.biglobe.ne.jp/settei/browser/edge/edge-012.html

Seamアクションの追加
初期表示画面は、「Seamアクション」を利用して追加することもできる。その手順は、以下の通り。
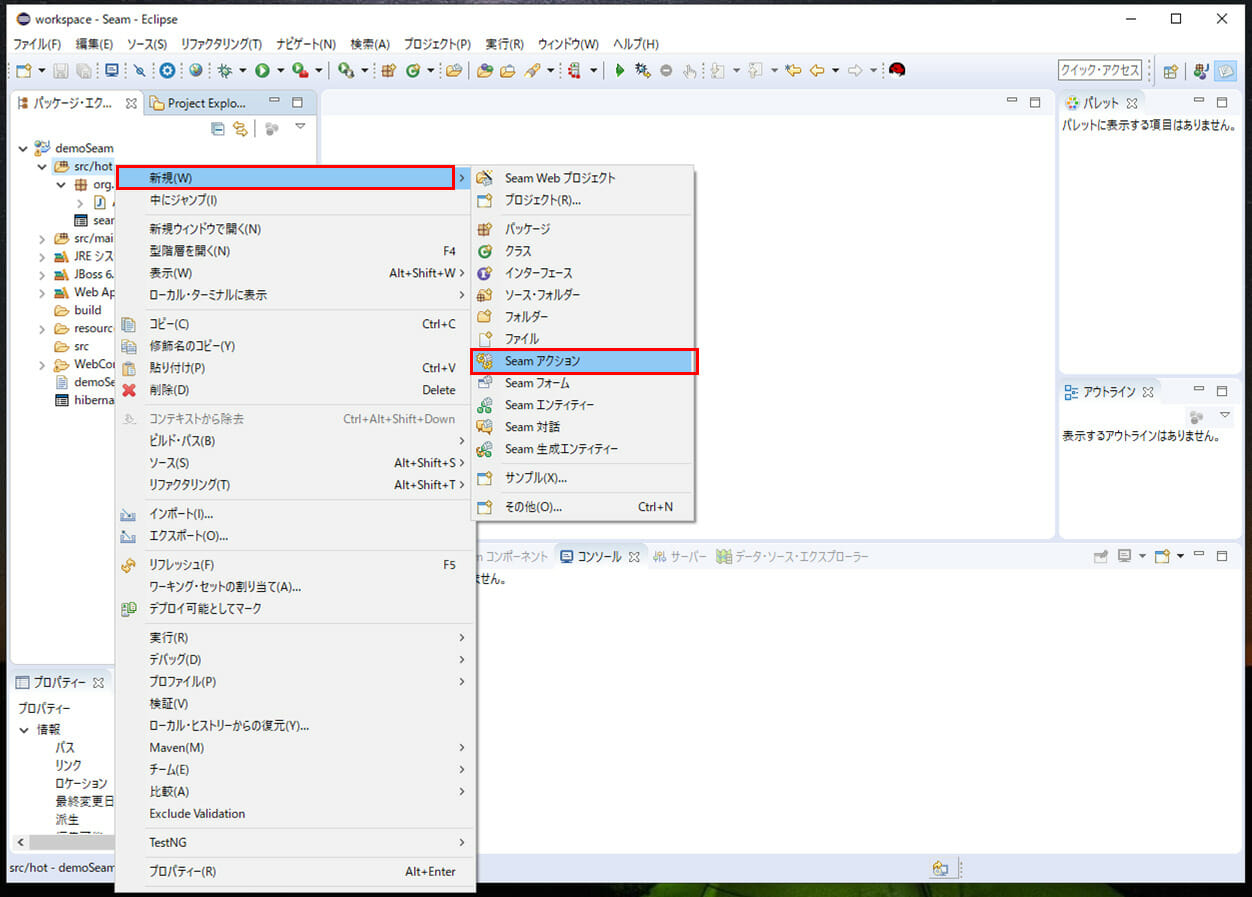
1) demoSeamプロジェクト内の「src/hot」パッケージを選択し右クリックし、「新規」メニューの「Seam アクション」を選択する。
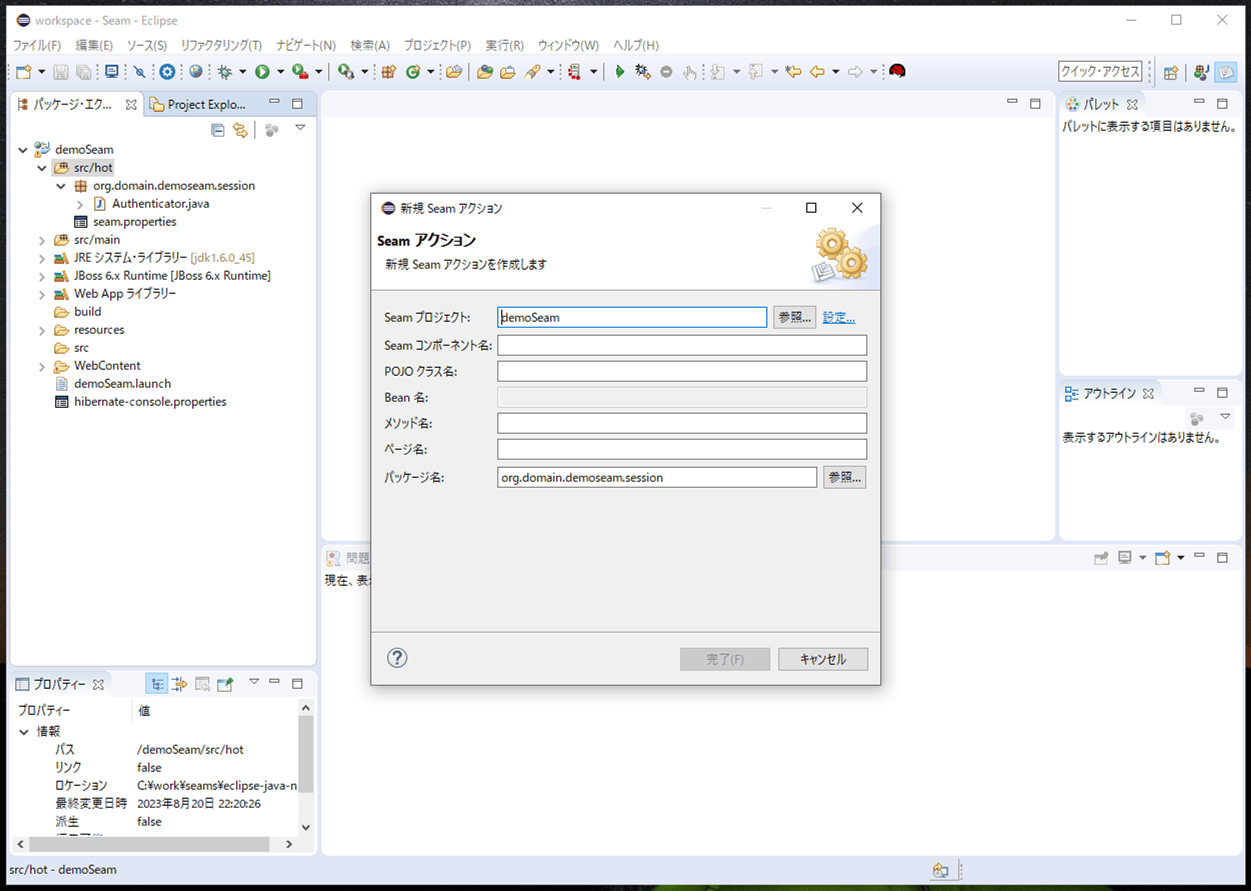
2) Seamコンポーネント名に「demoAction」を指定し、「完了」ボタンを押下する。なお、Seamコンポーネント名を指定すると、他の項目も自動設定される。

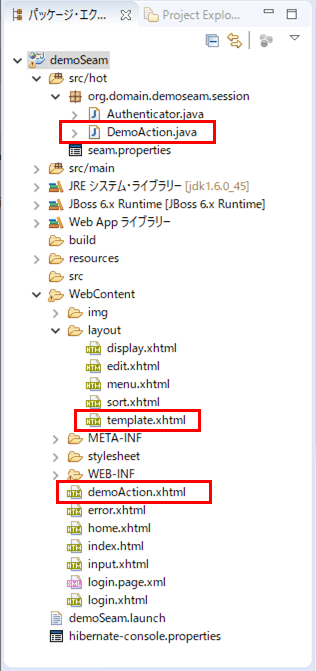
3) 以下のように「demoSeam」プロジェクトに「DemoAction.java」「demoAction.xhtml」が作成されることが確認できる。
また、「demoAction.xhtml」は「template.xhtml」を参照している。
生成された「DemoAction.java」の内容は、以下の通り。
package org.domain.demoseam.session;

import org.jboss.seam.annotations.Name;
import org.jboss.seam.annotations.In;
import org.jboss.seam.annotations.Logger;
import org.jboss.seam.log.Log;
import org.jboss.seam.international.StatusMessages;

@Name("demoAction")
public class DemoAction
{
    @Logger private Log log;

    @In StatusMessages statusMessages;

    public void demoAction()
    {
        // implement your business logic here
        log.info("demoAction.demoAction() action called");
        statusMessages.add("demoAction");
    }

    // add additional action methods

}
また、生成された「demoAction.xhtml」の内容は、以下の通り。
<!DOCTYPE composition PUBLIC "-//W3C//DTD XHTML 1.0 Transitional//EN"
    "http://www.w3.org/TR/xhtml1/DTD/xhtml1-transitional.dtd">
<ui:composition xmlns="http://www.w3.org/1999/xhtml"
    xmlns:s="http://jboss.com/products/seam/taglib"
    xmlns:ui="http://java.sun.com/jsf/facelets"
    xmlns:f="http://java.sun.com/jsf/core"
    xmlns:h="http://java.sun.com/jsf/html"
    xmlns:rich="http://richfaces.org/rich"
    xmlns:a="http://richfaces.org/a4j"
    template="layout/template.xhtml">

<ui:define name="body">
    <rich:panel>
        <f:facet name="header">demoAction</f:facet>
        <h:form id="demoActionForm">
            <h:commandButton id="demoAction" value="demoAction!"
                             action="#{demoAction.demoAction}"/>
        </h:form>
    </rich:panel>
</ui:define>

</ui:composition>
なお、「demoAction.xhtml」が参照している「template.xhtml」の内容は以下の通りで、画面表示する際は、「<ui:insert name=”body”/>」と書いてある箇所を「demoAction.xhtml」の内容に置き換えることとなる。
<!DOCTYPE html PUBLIC "-//W3C//DTD XHTML 1.0 Transitional//EN"
"http://www.w3.org/TR/xhtml1/DTD/xhtml1-transitional.dtd">
<f:view xmlns="http://www.w3.org/1999/xhtml"
xmlns:ui="http://java.sun.com/jsf/facelets"
xmlns:f="http://java.sun.com/jsf/core"
xmlns:h="http://java.sun.com/jsf/html"
xmlns:a="http://richfaces.org/a4j"
xmlns:s="http://jboss.com/products/seam/taglib"
contentType="text/html">
<html>
<head>
<meta http-equiv="Content-Type" content="text/html; charset=UTF-8"/>
<title>demoSeam</title>
<link rel="shortcut icon" href="#{request.contextPath}/favicon.ico"/>
<a:loadStyle src="/stylesheet/theme.xcss"/>
<a:loadStyle src="/stylesheet/theme.css"/>
<ui:insert name="head"/>
</head>
<body>
<ui:include src="menu.xhtml">
<ui:param name="projectName" value="demoSeam"/>
</ui:include>
<div class="body">
<h:messages id="messages" globalOnly="true" styleClass="message"
errorClass="errormsg" infoClass="infomsg" warnClass="warnmsg"
rendered="#{showGlobalMessages != 'false'}"/>
<ui:insert name="body"/>
</div>
<div class="footer">
<p>Powered by <a href="http://seamframework.org">Seam</a>
#{org.jboss.seam.version}
and <a href="http://www.jboss.org/jbossrichfaces">RichFaces</a>.
Generated by seam-gen.</p>
<s:fragment rendered="#{init.debug}">
<a:log hotkey="D"/>
<p style="margin-top: -0.5em;">
Conversation: id = #{conversation.id},
#{conversation.longRunning ? 'long running' : 'temporary'}
#{conversation.nested ? ', nested
, parent id = '.concat(conversation.parentId) : ''}
#{' - '}
Ajax4jsf Log (Ctrl+Shift+D)
#{' - '}
<s:link id="debugConsole" view="/debug.xhtml"
value="Debug console" target="debugConsole"/>
#{' - '}
<s:link id="resetSession" view="/home.xhtml"
action="#{org.jboss.seam.web.session.invalidate}"
propagation="none" value="Terminate session"/>
</p>
</s:fragment>
</div>
</body>
</html>
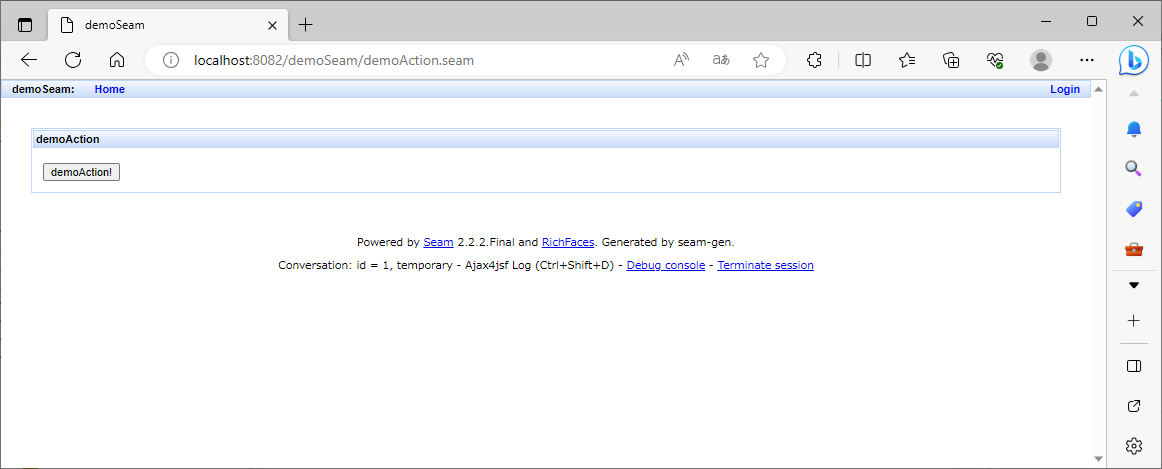
</f:view>4) JBoss ASサーバーを再起動し「http://localhost:8082/demoSeam/demoAction.seam」とアクセスすると、以下の画面が起動することが確認できる。
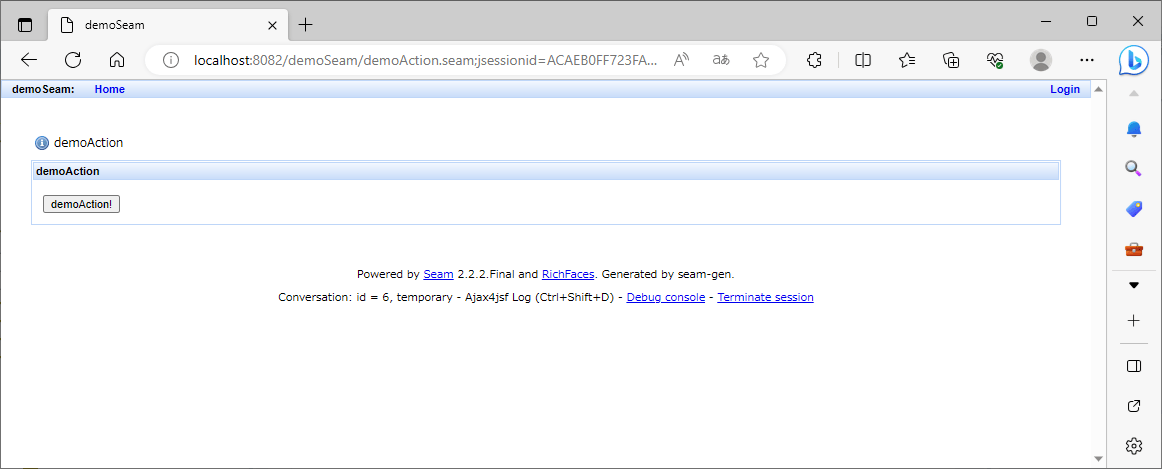
5) 上記画面で「demoAction!」ボタンを押下すると、以下の画面が表示され、メッセージ「demoAction」が表示されることが確認できる。
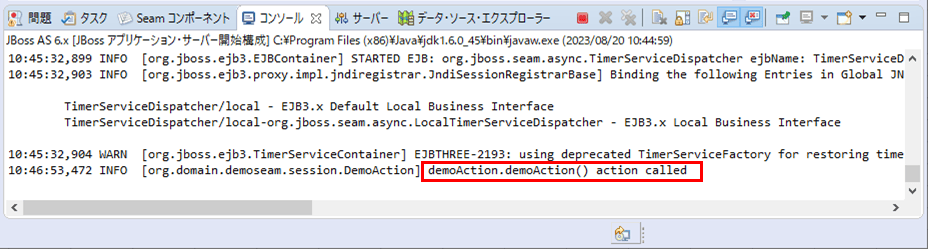
また、その際のコンソールログは以下の通りで、赤枠の「demoAction.demoAction() action called」が表示されることが確認できる。
なお、修正したプロジェクト「demoSeam」のソースコード全体は、以下を参照のこと。
https://github.com/purin-it/java/tree/master/seam-first-view/demoSeam
要点まとめ
- JBoss Seamアプリケーションで初期表示画面にアクセスするには、「http://(サーバー名):(ポート番号)/(プロジェクト名)/(初期表示画面).seam」とアクセスすればよい。